
Knowing how to clean a drip coffee maker is as essential as brewing the perfect cup. Over time, your beloved machine accumulates oils and mineral deposits that can affect its performance and the taste of your coffee.
In this comprehensive guide, I will show you how to recognize when it’s time for a deep cleaning, or a decaling, and show you the daily maintenance steps to keep your machine running smoothly. We’ll also show you how to improvise a descaling solution with items in your kitchen, and recommended you profession products, which are more efficient.
The Importance of Cleaning Your Coffee Maker
Surprisingly, coffee makers can be havens for bacteria and mold growth. Yes, it’s true. Studies have shown that coffee makers are among the top five germiest items in our homes. Surprised? So were we.
Now, before you decide to ditch your beloved drip machine altogether, let’s talk about how regular cleaning and descaling can help maintain its performance and ensure the best taste. You might be pondering, “But I rinse the pot each day.” While daily rinsing is essential (and congrats if you already do this), it’s not enough to truly keep your machine clean and tidy.
A clean machine not only brews better tasting coffee but also keeps harmful germs at bay. This is especially important as coffee makers often harbor mold and yeast due to their frequent contact with human hands, hot water, and oils from coffee grounds.
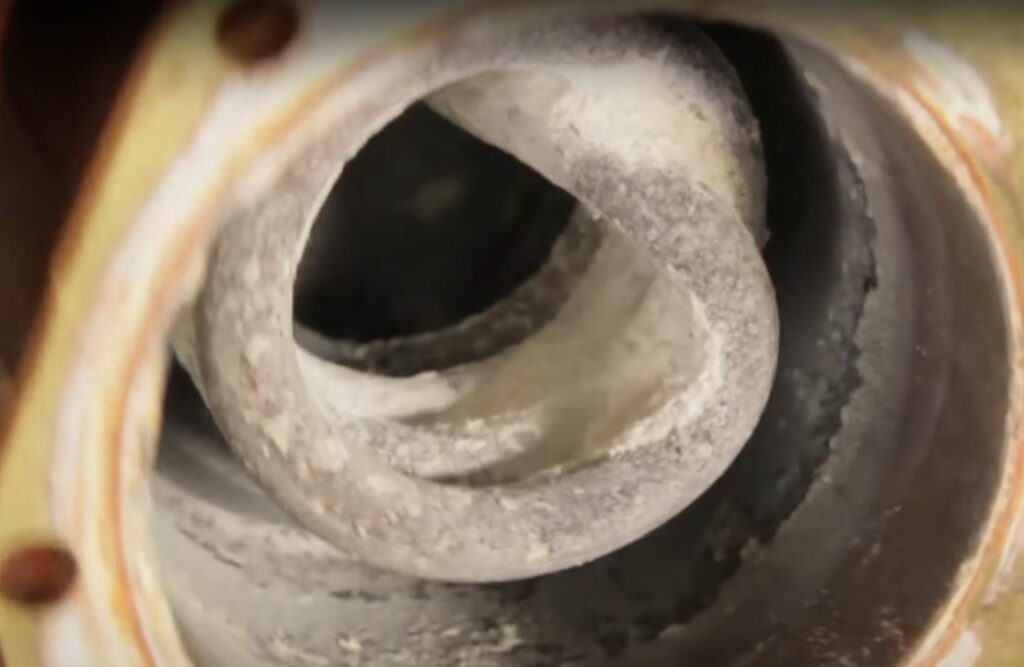
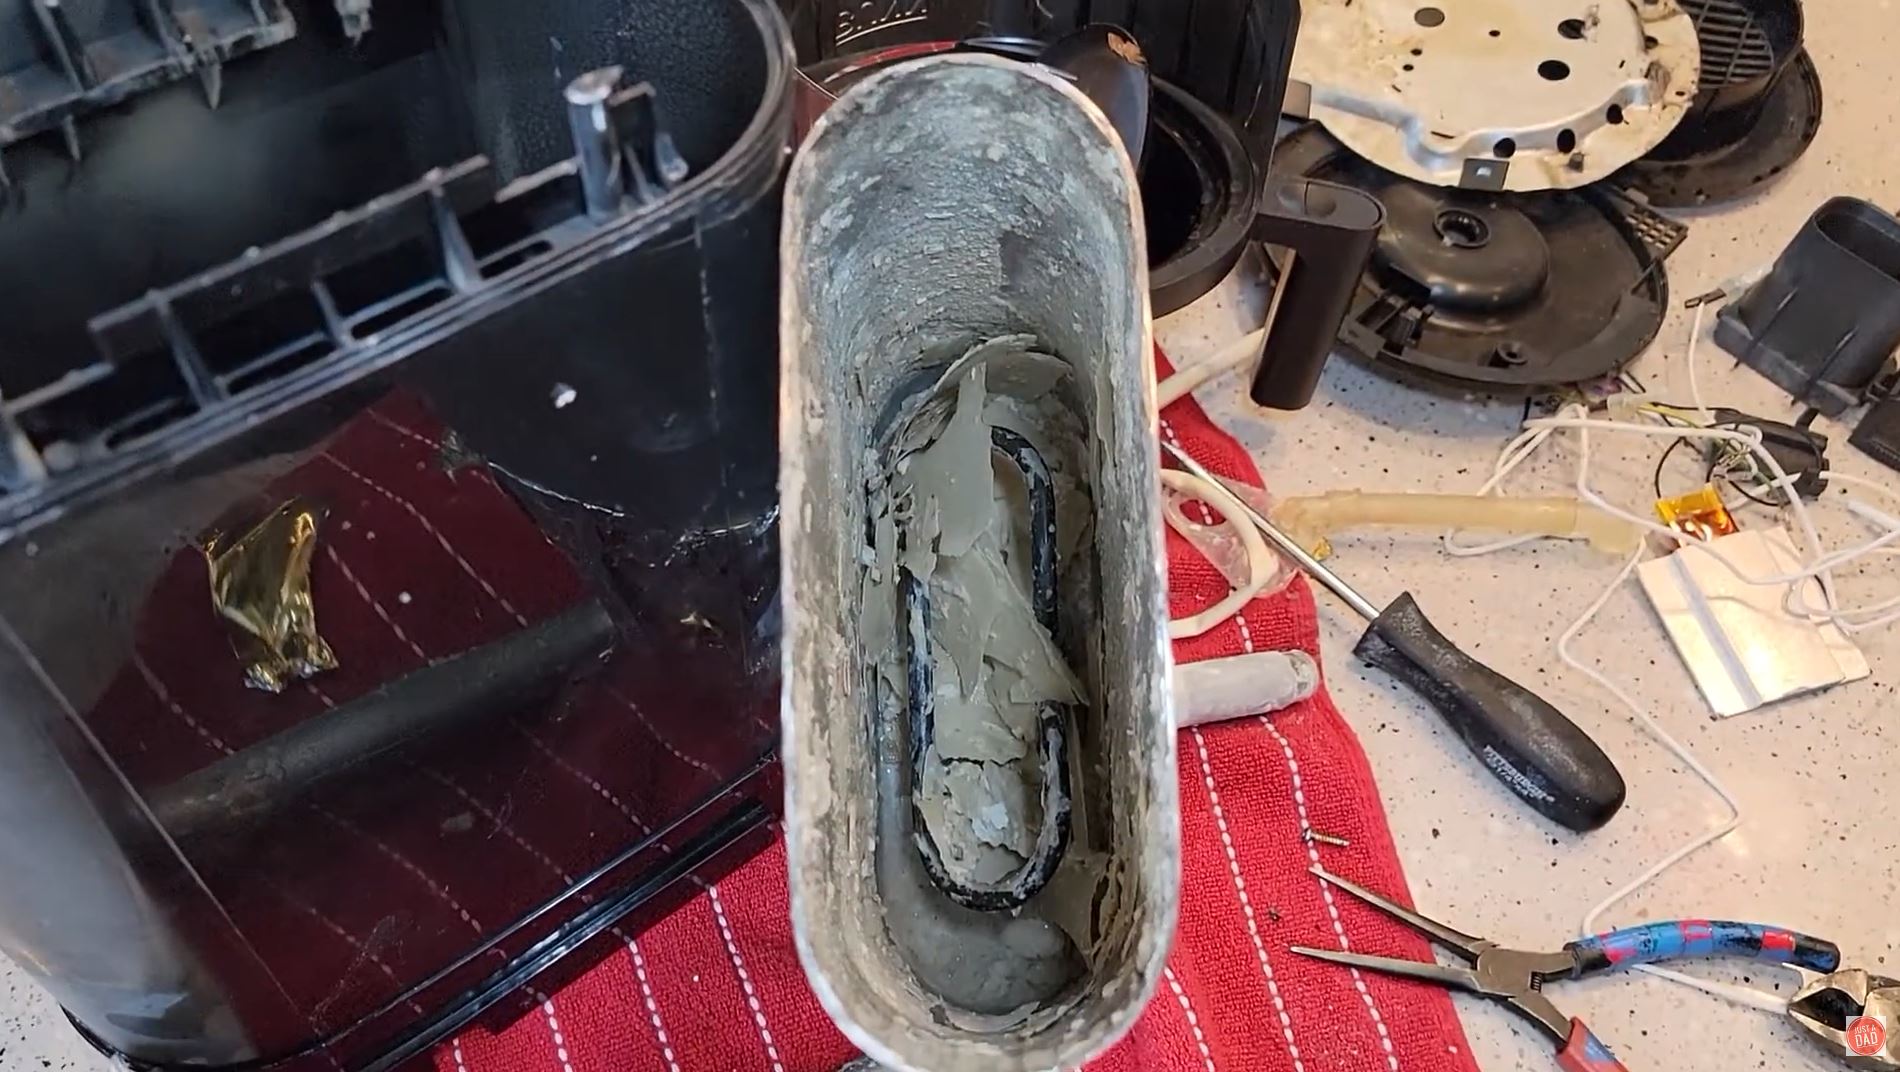
Scale deposits negatively affect your coffee maker in a few ways:
- Restricts the water flow through the pipes so water will flow slower. This will affect the brew time. Not only your coffee will take longer to brew, but because the brew time will be extended, your cup will not taste great.
- The mineral deposits once formed, will start to leech into your coffee imparting an off taste.
- The scale deposits are not thermoconductive. So when you think water is a the perfect temperature for brewing, it’s not. It’s a few degrees lower.
- Finally, mineral deposits can break your coffee maker. If you have an expensive coffee machine, that matters. Take care of it.
Cleaning isn’t just about maintaining hygiene and taste. Regular maintenance on your coffee maker extends the lifespan of your appliance by preventing mineral build-up, which could lead to malfunction over time.
Regular cleaning and descaling of your coffee maker is important to maintain its performance, prevent harmful germs from breeding, and extend the lifespan of the appliance. It’s recommended to clean it at least once a month with hot water, dish soap, and vinegar for best results. Don’t let your beloved drip machine become a petri dish for germs – keep it spick-and-span.
Recognizing When It’s Time to Clean Your Coffee Maker
If you wonder how often you should clean your drip coffee maker, it’s not a fixed number. It depends on a few factors, such as the type of coffee beans you use, the water, and how much coffee you make. But let’s dive a bit deeper into this, shall we?
Visible Dirt on Your Coffee Maker
If you see any grime or buildup on your machine, especially in areas where water and coffee come into contact, it’s time to give it a good scrubbing. Don’t let your coffee maker become a science experiment.
Memory Lapse About the Last Deep Clean Session
Can’t recall when you gave your coffee maker a deep clean? Set a reminder on your phone or calendar to give it a deep clean, and a descale every few months. I’ll tell you in a bit how to calculate how often do you need it.
Off-Tasting Coffee
If your coffee tastes off, it could be a sign that your machine needs cleaning. Mold and yeast love warm, damp environments, and your coffee maker provides the perfect breeding ground. Don’t let those unwelcome guests spoil your daily brew.
Remember, a clean coffee maker not only ensures a better tasting cup of coffee, but also helps keep you healthy. So, don’t neglect your machine. Give it some love and it will love you back with a delicious brew.
The deep cleaning, depends on your use. Heavy coffee drinkers should clean their coffee maker more often, once a month is a good rule. I clean mine every second month, but we are a small family.
Descaling depends on the hardness of your water. I recommend descaling every three to six months, depending on the water. If you are using hard water, you should descale more often. Where I live, the water is not very hard, so I can go without descaling up to a year, if I want to. I choose to descale every 6 months in order to avoid any mineral build ups.
What Is the Best Brewing Temperature for Drip Coffee?
The perfect temperature to brew coffee is crucial for achieving that ideal cup of drip coffee. The optimal temperature range lies between 195°F and 205°F (90°C-96°C). This range allows for proper extraction of flavors from the coffee grounds without burning them. Stick to this sweet spot to savor a well-balanced and delicious drip coffee every time.
How to Clean Your Coffee Maker
Cleaning your coffee maker has three components: daily cleaning routine, deep cleaning, and descaling. We’ll go through all three of them and give you directions and tips. But let’s see first, how often do we need to clean a coffee machine?
Descaling vs. Deep Cleaning
Firstly, let’s understand what’s the difference betwee descaling and deep cleaning. The operations may seem similar, but they’re not quite the same thing.
Descaling specifically targets mineral buildup in your machine, while deep cleaning removes stains and oil residue in places that are in constant contact with coffee. Both are important for maintaining your coffee maker’s performance and longevity.
Daily Maintenance Steps
I said we’ll leave the daily routine out, but here are a few tips from a barista. While the daily routine will not be a replacement for the deep cleaning, it will help to delay coffee buildup on the components you clean.
Rinse Thoroughly After Each Use
Leftover oils from the previous brew can affect the flavor of your next cup. Yuck. So, rinse all components of your machine immediately after every use. Rinse off all components with hot water for the ultimate freshness. Remember, cleanliness is key for great tasting coffee.
Allow Components to Dry Out Fully Before Reassembling
Moisture is an open invitation for bacteria and mold growth (gross.). To avoid this unwanted party in your coffeemaker, allow all parts to air-dry completely before putting them back together.
Did you know that coffee makers are among the top 10 germiest places in our homes? Don’t let your morning cup of joe be a breeding ground for bacteria.
These daily maintenance steps take hardly any time at all. Just a few extra minutes post-brewing will ensure that tomorrow’s coffee tastes just as fresh and delicious as today’s.
Monthly Deep Cleaning Routine
Periodic monthly deep cleans of your coffee maker are essential for a consistently delicious cup. This monthly routine can make all the difference between a mediocre and an exceptional brew.
Don’t underestimate the importance of this routine. It removes stains, coffee oils, and dried coffee residues. These mix in your coffee cup and impart an off flavor. These residues could even compromise your appliance’s longevity.
Did you know that oily coffee beans will cause more deposits than lighter roast? For machines with a built-in grinder, oily coffee beans can break your machine in days.
Follow the Manufacturer’s Instructions
Always refer to your machine’s manual for specific cleaning guidelines. Manufacturers provide detailed instructions tailored specifically for their products, ensuring optimal results without risking damage.
How to Deep Clean a Coffee Maker
Removing the coffee oils build up can be done with regular dish detergent, if your machine disassemble easily. But some of the parts cannot be disassembled for cleaning, so you will have to run a brewing cycle without any coffee and with a cleaning agent instead of water. Dish soap is not recommended, since it’s foamy, and it is not as easy to rinse.
To deep clean your coffee maker use the following steps:
- Wear protective gloves to avoid injuries.
- Empty and rinse the brew basket.
- Mix the cleaning product with warm water in the ratio indicated on the package. For Urnex coffee maker cleaner, use one packet to 32 fluid ounces of water. Use warm water to accelerate the dissolution, and because warm water works better for cleaning.
- Pour the cleaning solution in the reservoir and place your carafe on the hot plate as you would do when you brew coffee.
- Start a brew cycle, and you will observe the cleaning solution coming out dirty in your carafe.
- When the brew cycle is done, discard the cleaning solution.
- Use a soft brush to clean the water tank. In time it tends to form mold in certain areas.
- Rinse the water tank, and you are ready to brew.
- If the coffee has an off flavor, repeat the blank process with clean water only, to rinse the coffee maker. It may take 2 or 3 rinsing runs to remove any trace of the cleaning agent.
Here’s an interesting fact: hard mineral deposits left unchecked over long periods could affect both taste quality and appliance longevity. So, it’s essential to keep your coffee maker clean and free from mineral buildup.
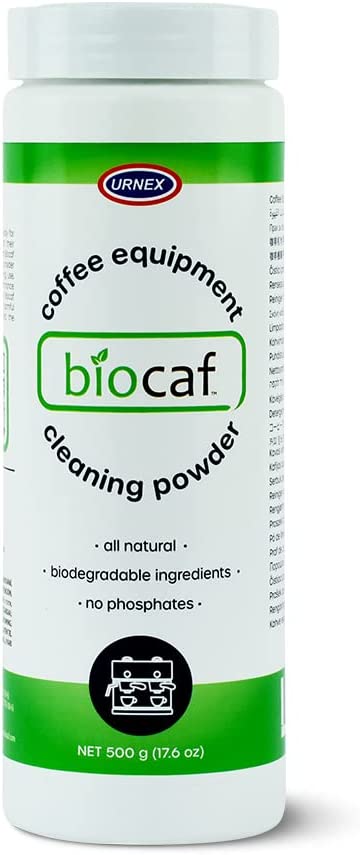
Deep Cleaning Products
Popular products like Affresh Coffee Maker Cleaner, Bar Keepers Friend Coffee Maker Cleaner, and Brew Rite Coffee Maker Cleaner are specifically designed to remove oil buildup and keep your machine clean. But did you know you can also whip up an effective cleaning solution at home?
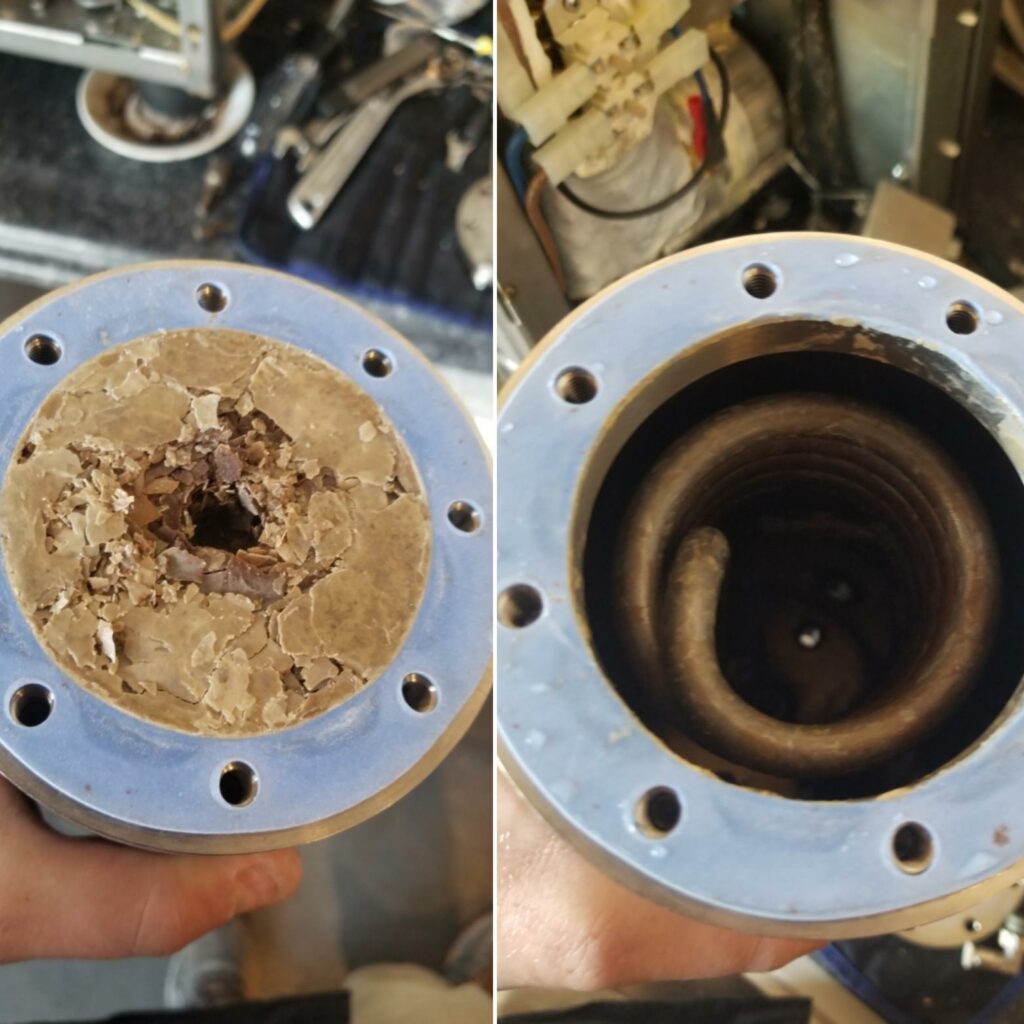
How to Descale Your Coffee Maker
A less known fact: Hard waters have high concentrations of calcium and magnesium which cause scaling on appliances over time. So next time you notice something off about your favorite brew, remember – a clean machine makes mean beans.
For more tips on how to keep your coffeemaker in tip-top shape, check out Brew Drip Coffee.
This is the operation that can give a second life to your coffee maker. If you do this on a regular basis, you probably don’t need to read this. But chances are you didn’t know you needed to descale your coffee machine, so there are a few options at this point.
- If your coffee machine is fairly new and the build up is minor, a DIY descaling solution with water and vinegar should be fine.
- If you didn’t descale your coffee maker in a long time, you should buy a specialized descaling product, and maybe run two cycles.
- If you are about to throw out your expensive coffee machine because of the scale buildup, maybe you can salvage it with the CLR cleaning. But this is extreme, I personally don’t recommend it, because CLR is hard to rinse. We’ll give you a few tips on how to eliminate the lingering CLR traces on your coffee maker, but avoid it as much as possible.
DIY Descaling Solution with Vinegar or Citric Acid
Why Use Vinegar? Vinegar is a natural and efficient way to remove mineral deposits. A mixture of equal parts vinegar and water can effectively dissolve these sneaky build-ups. Fortunately, vinegar is a readily available kitchen staple. Vinegar is acetic acid, but the acetic acid in our kitchen is a diluted form.
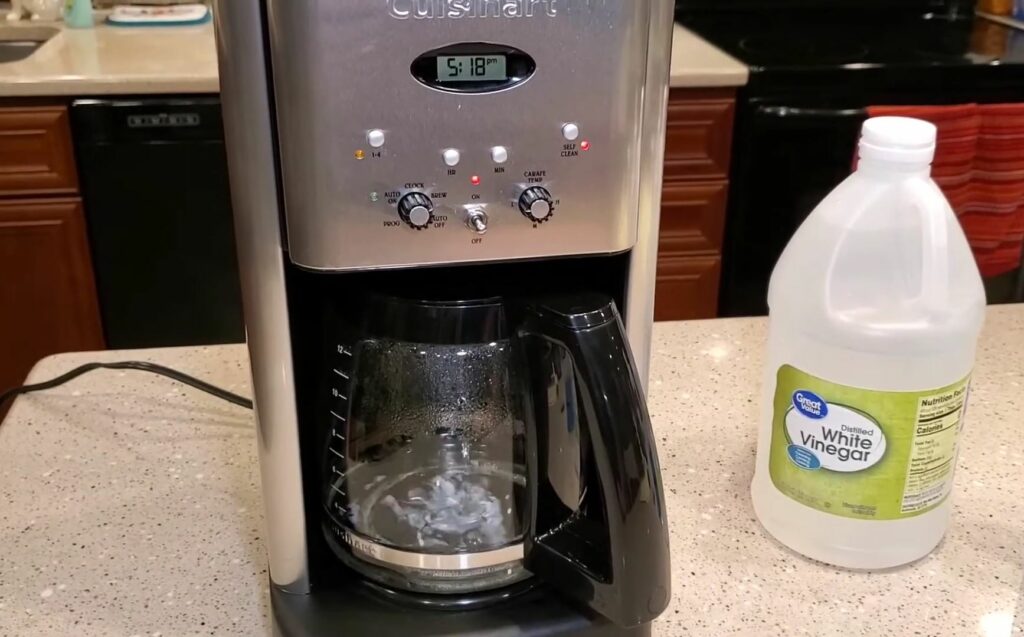
If you’re out of specialized cleaner or you want to use a frugal method, a solution of water and vinegar is a perfect alternative. For a more “natural” option, you can use citric acid instead of the vinegar. But here is the step by step process:
- Prepare the DIY solution. For vinegar, use 1/2 water and 1/2 pure vinegar. Do not use apple cider vinegar. For citric acid use 2 tablespoons of citric acid dissolved in 8 cups of water, (2 quarts).
- The cleaning solution should be prepared with warm water for higher efficiency.
- Pour the DIY descaling solution in the water reservoir. The reservoir should be full.
- Place the coffee pot in place and start a brew cycle. Make sure there is no filter, or coffee in the brew basket.
- For a stubborn mineral build-up, you can stop half way through the brew cycle, and let the machine soak for 30 minutes. This gives the descaling agent more time to break up the scale.
- Restart the brew cycle and let it finish.
- When all the cleaning solution transferred into the carafe, dump the solution down the sink.
- Fill the water tank with water and run a brew cycle without a paper filter and coffee. This will rinse the descaling agent. You will need to repeat this step at least once, if not twice to remove any traces of the vinegar, or the acid citric.
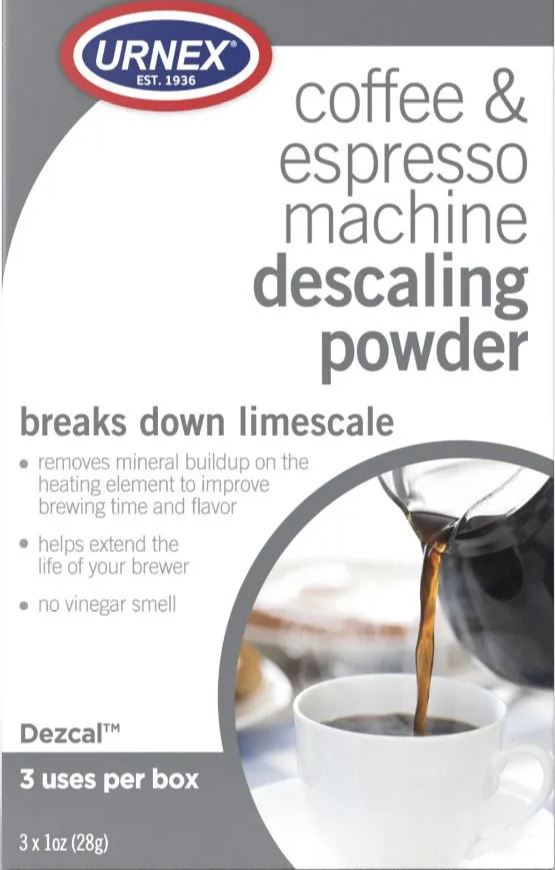
Descaling without Vinegar – Urnex Dezcal
I personally use a commercial descaling product, they are stronger than the vinegar, and they are easier to rinse. I recommend you to use a commercial product as well, I like Dezcal, it is a product sold by Urnex, and it’s one of the best on the market. Here is how to descale your coffee maker with Dezcal powder.
- Dissolve 1 packet of Dezcal into 32 oz (1 liter) of warm water.
- Transfer the descaling solution into the water reservoir.
- Start a brew cycle and cycle all of the descaling solution from the water tank into the coffee pot.
- Discard the Dezcal solution from the coffee pot.
- If you know the limescale buildup is serious, stop the brew cycle half way, and wait for 30 minutes to one hour, so that the descaler is soaking all of the limescale. Finish the brew cycle after the one hour break.
- Time to rinse. Fill the water tank with clean water and start a brew cycle.
- Discard the water in the coffee pot, and repeat this step 2 more times to clear the machine of any descaling solution.
Urnex Dezcal is a combo of a few cleaning agents and buffer: Citric acid, Sodium salt, Sulfamic acid, Aluminum sulfate, and hydrated silica.
How To Descale Your Drip Coffee Maker with CLR
I don’t recommend using this method, for several reasons: CLR is too strong and it might break your coffee maker, it’s very hard to rinse after using CLR on your coffee machine, and it is hard to work with for those sensitive.
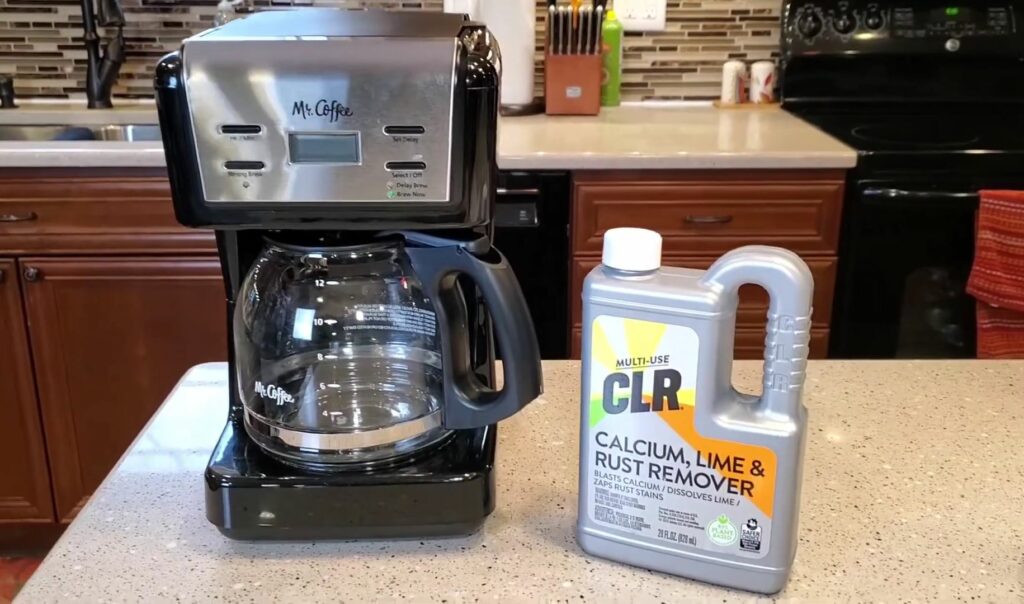
However, if you have a $300 coffee maker and you want to attempt to salvage it, it is worth the risk. If you have a cheap coffee maker, don’t bother. Just buy a new one. Here is the procedure:
- Mix 1 part CLR to 8 parts water. For a 32 oz water tank, you would use 1/2 cup CLR and 3and 1/2 cups water.
- Pour the CLR descaling solution into the water reservoir.
- Start a brew cycle and make sure the water tank gets emptied.
- Discard the spent CLR descaler from the coffee pot.
- Fill the water tank with clean water and start a blank brew cycle, without coffee or filter.
- Mix 1/2 vinegar and 1/2 water, and fill up the reservoir. Run a blank brew cycle, (no coffee).
- Run a blank brew cycle with with a solution of 1/4 cup baking soda to 32 fluid ounces of water.
- Discard the water in the coffee pot.
- Run two more blanks with clean water. If your coffee maker still brews coffee with a CLR flavor, try a new baking soda cleaning cycle, followed by a clear water cleaning cycle.
Tips for Keeping Your Drip Coffee Maker Clean and Long-Lasting
Now that you learned how to clean your coffee maker, it’s time to talk about maintenance. Here are some simple practices to keep your machine cleaner for longer and improve its durability.
Rinse Daily After Use
Just like brushing your teeth every day keeps cavities away, rinsing out your coffee maker after each use can prevent buildup from even starting. This quick rinse removes any leftover oils or grounds that could stick onto surfaces within the machine.
Perform Regular Deep Cleaning and Descaling Sessions
A monthly deep clean is perfect, if you care about your coffee maker and the taste of your daily joe. It prevents potential problems down the line and ensures your coffee tastes great every time.
Dealing with Hard Water Issues
Hard water can cause mineral buildup in your coffee maker, affecting its performance and lifespan. Use a regular schedule to descale your machine. For normal water, descale every 6 months. For hard water you should descale every 2 months.
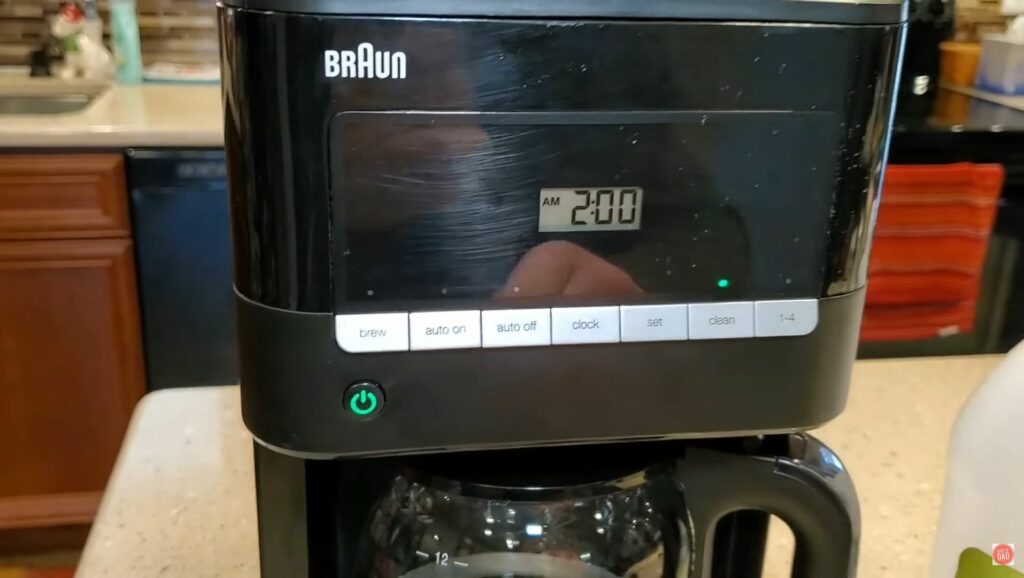
There are coffee makers with a built in sensor, which will alert you when it’s time to descale.
You can also use a water filter for best results, but make sure your filter ahs the option to remineralize the water. Coffee brewed with pure water doesn’t taste as good as coffee brewed with mineral water.
Conclusion
Don’t settle for “good-enough” coffee – keep your drip coffee maker clean!
Regular maintenance and monthly deep cleaning sessions are crucial for great tasting coffee at home.
Frequently Asked Questions
Why does calcium build up in coffee makers
Calcium and mineral deposits accumulate in coffee makers from water passing through the machine during brewing. These scale deposits restrict water flow through pipes, act as poor heat conductors causing lower brewing temperatures, and can leach into coffee to create off tastes. The Specialty Coffee Association recognizes that mineral build-up on heating elements significantly impacts performance and can eventually damage expensive machines if not addressed through regular maintenance.
Can coffee makers grow mold and bacteria
Coffee makers rank among the top five germiest items in homes and can harbor significant bacteria and mold growth. Studies have shown these machines frequently contain mold and yeast due to their constant contact with human hands, hot water, and oils from coffee grounds. Regular cleaning beyond daily rinsing is essential to keep harmful germs at bay and maintain both hygiene and optimal brewing performance.
How does mineral buildup affect coffee taste
Mineral deposits negatively impact coffee taste in multiple ways. Scale accumulation restricts water flow through pipes, causing slower brewing and longer extraction times that produce suboptimal flavor. The deposits also leach directly into brewed coffee, imparting off tastes. Additionally, scale acts as a poor heat conductor, resulting in water temperatures several degrees lower than ideal brewing temperature, further compromising taste quality.
What happens if a coffee maker is not cleaned regularly
Neglecting regular coffee maker maintenance leads to multiple problems. Mineral build-up restricts water flow, extends brew times, and causes suboptimal taste. Scale deposits damage heating elements and can cause machine malfunction over time, particularly concerning for expensive equipment. Bacteria, mold, and yeast accumulate from contact with hands, water, and coffee oils. The machine’s lifespan decreases significantly without proper cleaning and descaling to prevent these issues.
Is rinsing a coffee pot daily enough to keep it clean
Daily rinsing alone is insufficient to properly maintain a coffee maker. While essential as a basic step, rinsing does not address mineral deposits that accumulate on heating elements and restrict water flow through internal pipes. It also fails to eliminate bacteria, mold, and yeast that grow inside the machine. The Specialty Coffee Association recognizes that comprehensive cleaning and descaling at least monthly is necessary for optimal performance and taste.